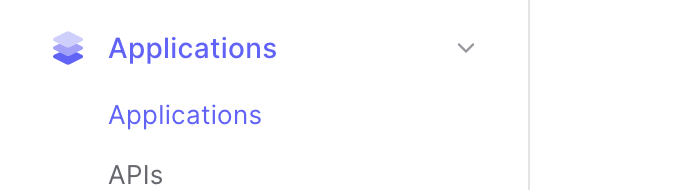
Authentication
Open Source Auth
Pixie uses Hydra/Kratos to provide an open source authentication flow.
To set up authentication and invite others to join your organization, check out the Quick Start directions.
To read about how we designed our open source authentication flow, check out the blog post.
Enabling Auth0
Pixie also supports using Auth0 for authentication. To set up Auth0:
Create an Auth0 account.
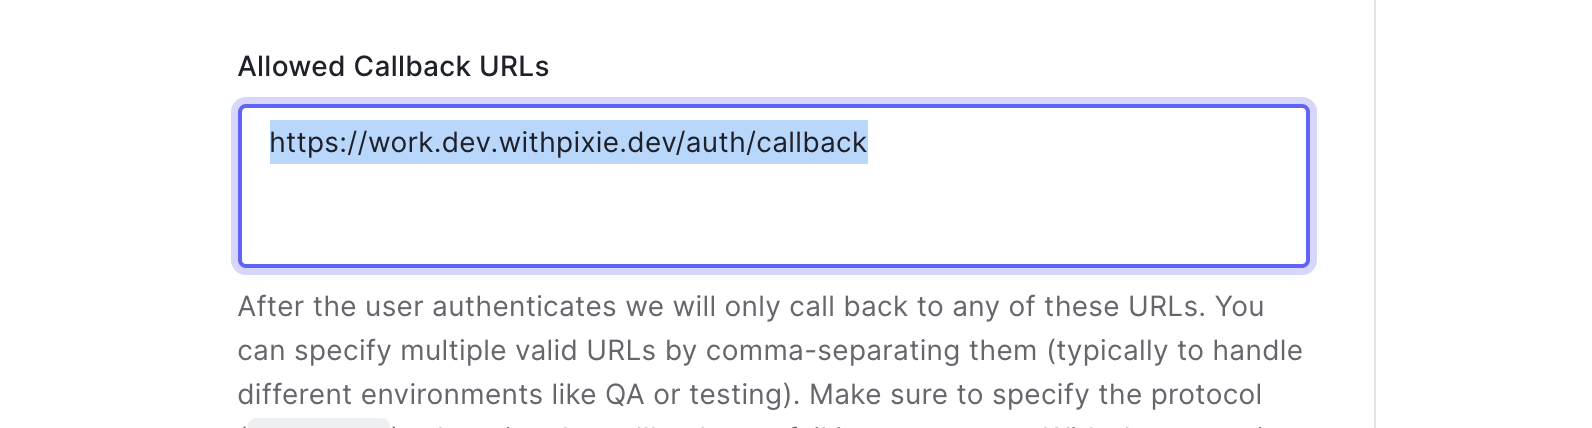
Create a Machine-To-Machine Application.
- Add the callback URLs and save changes.
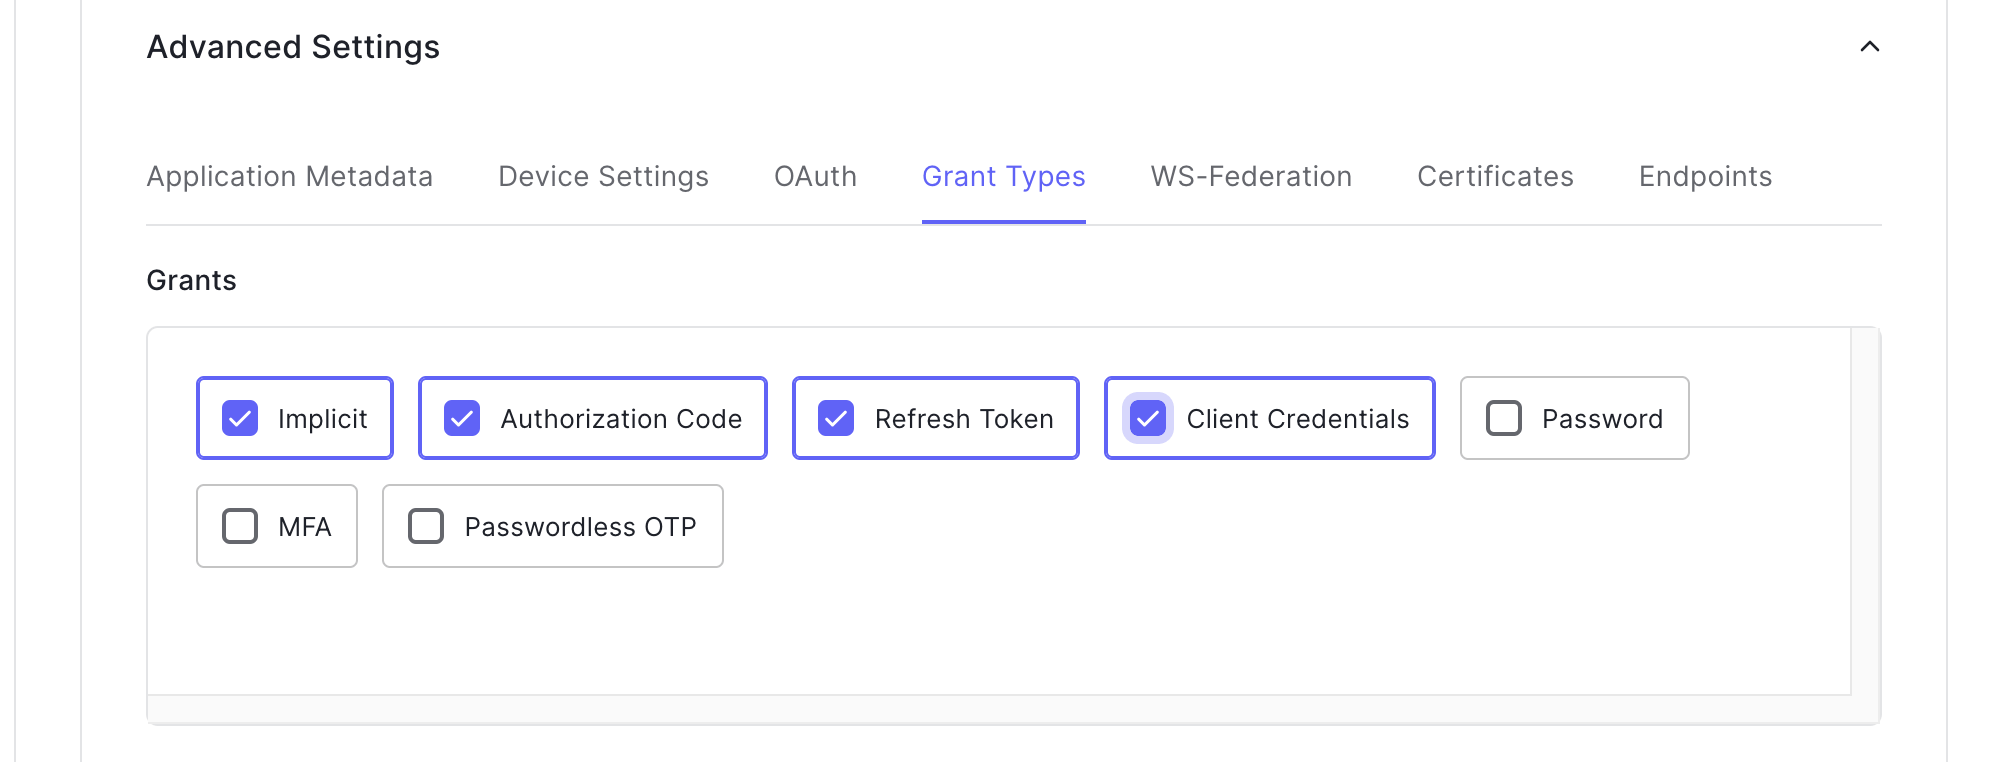
- In the Advanced Settings, under the Grant Types tab, enable
client_credentials and save the changes.
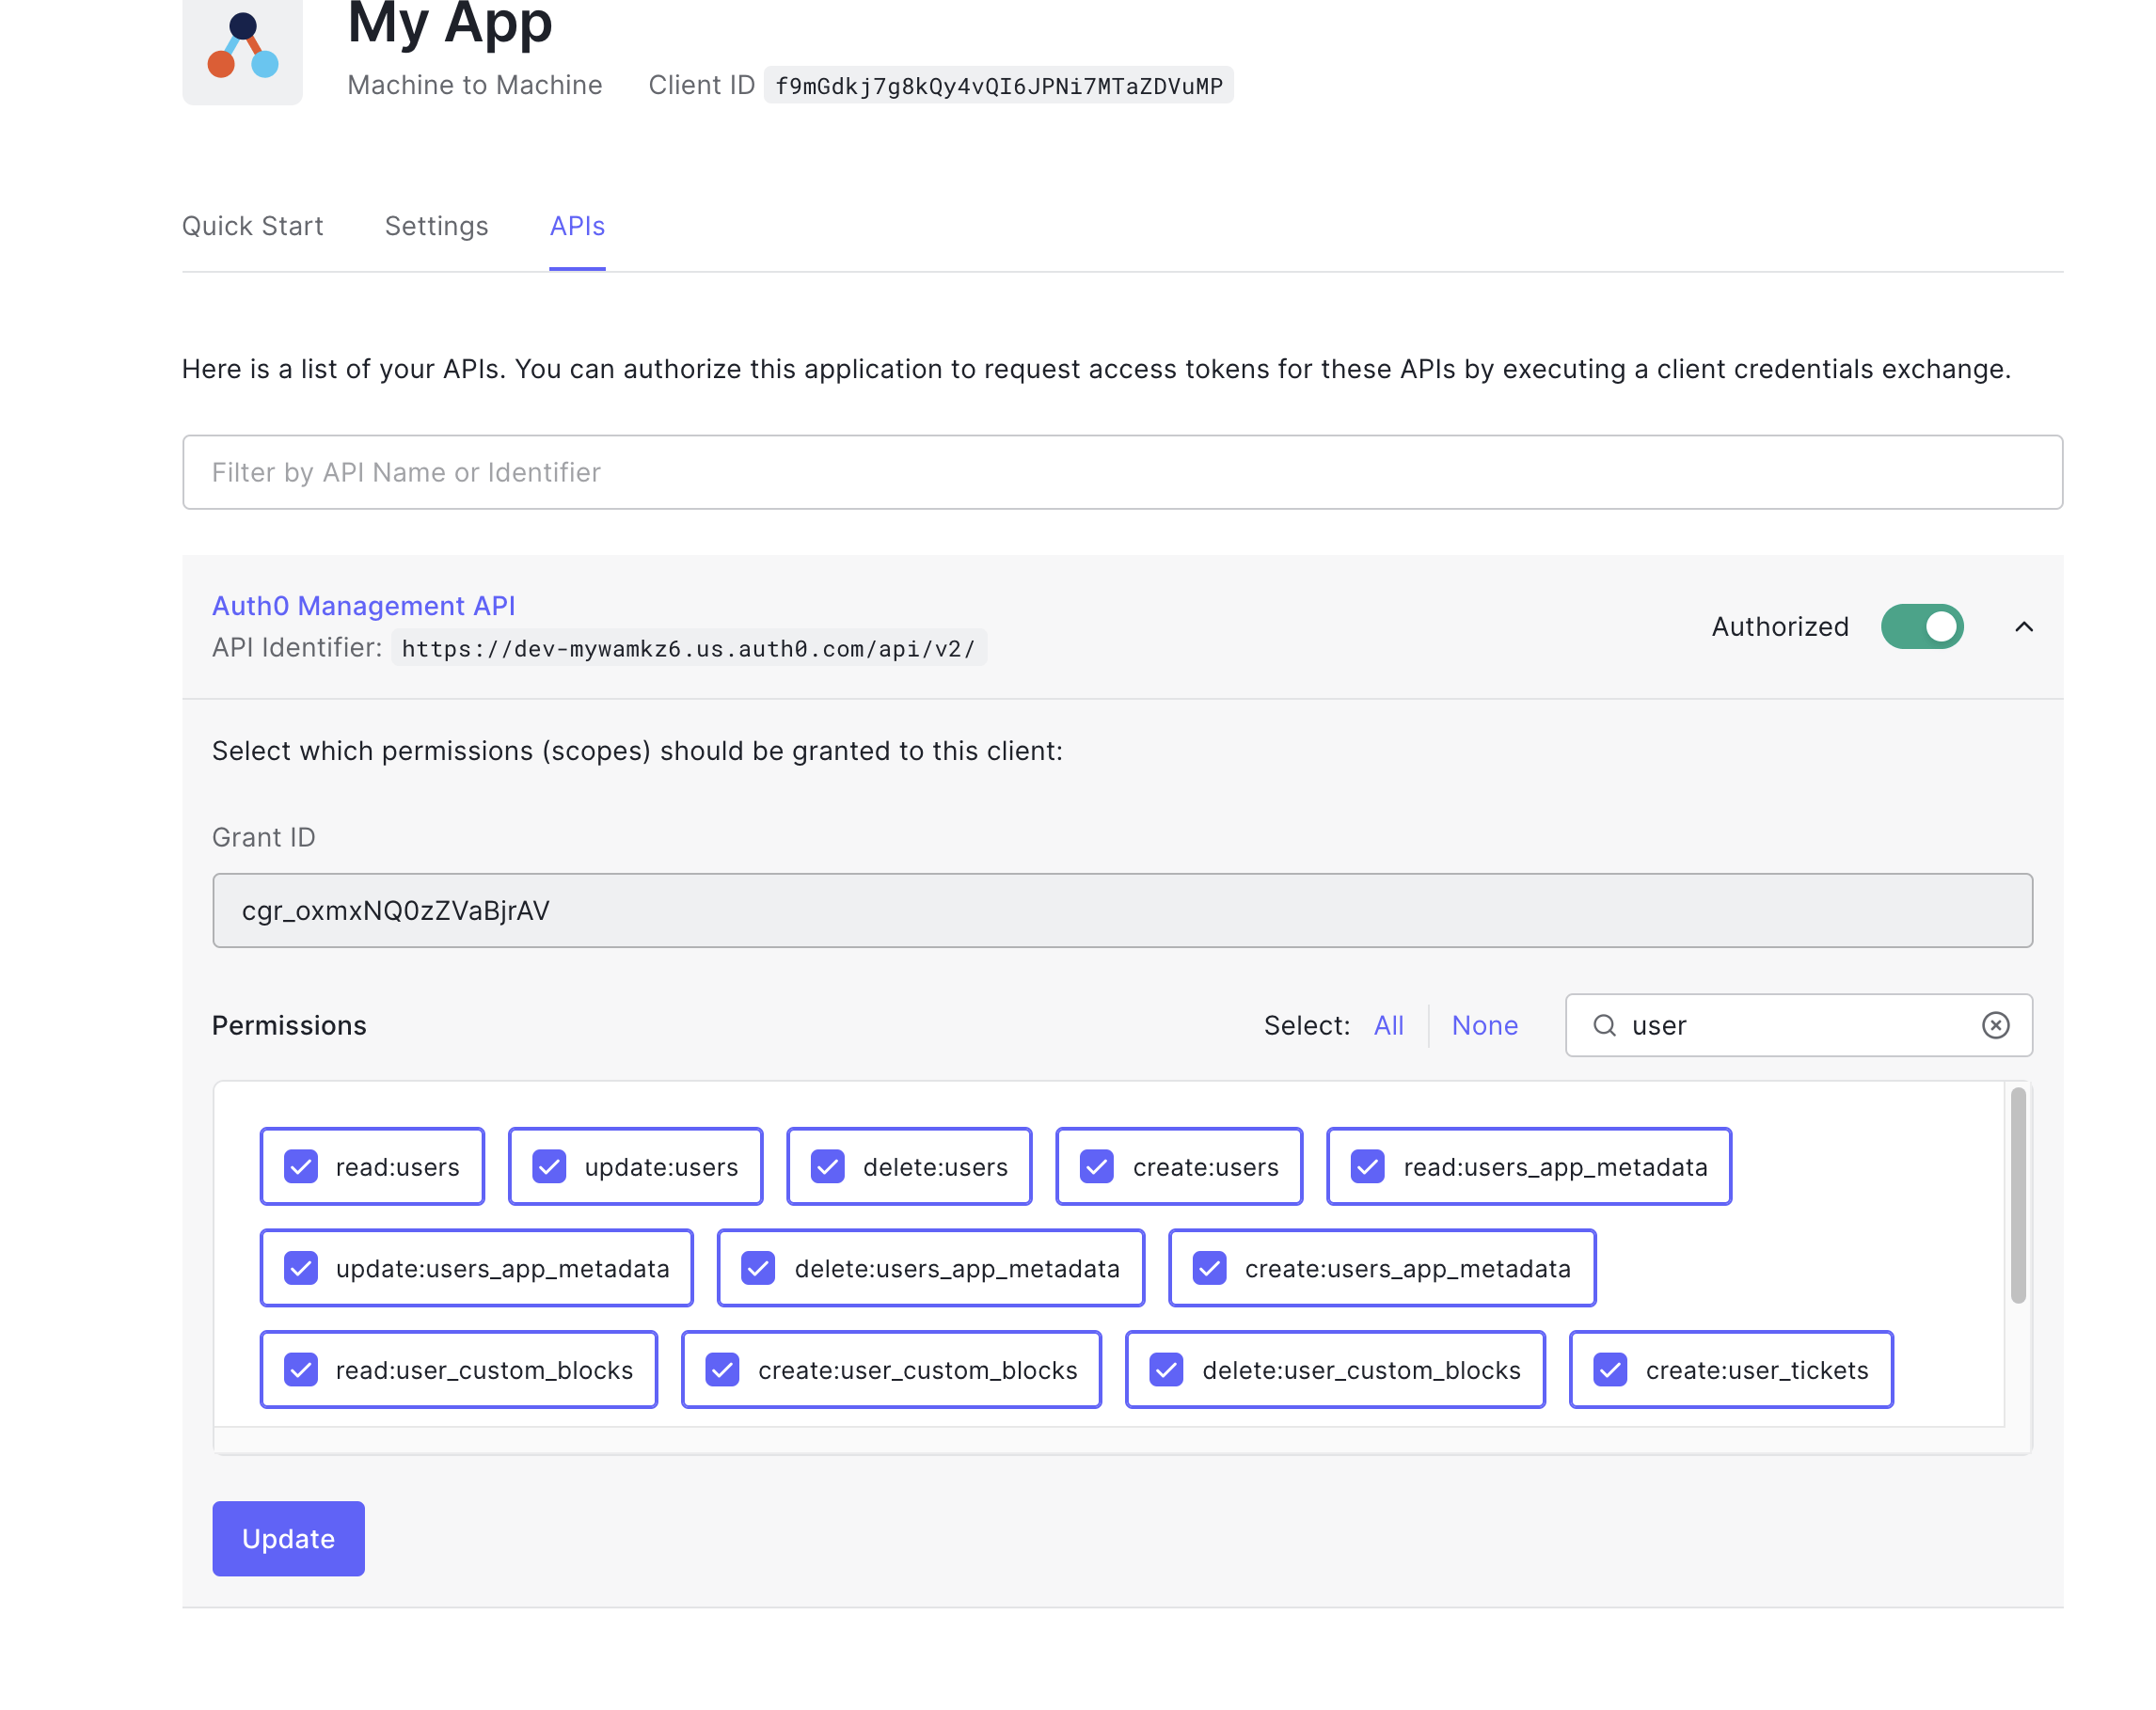
- Enable the Autho0 Management API, filter for user permissions and enable all. Make sure you have
read:user_idp_tokens for identity provider access. Make sure to hit Update.
- Create an
oauth_config.yaml file, filling in the values for Domain and Client ID.
- Create an auth0_config.yaml file, filling in the values for Client ID and Client Secret.
- Apply the yaml files.
- Restart the following pods:
auth, profile, cloud-proxy in the cloud deployment.
Enable Email/Password Login for Auth0
In Authentication > Database, create a database connection in Auth0. This is where your email/password users will be stored. The default settings should suffice.
Make sure your connection is enabled for your Auth0 application. This can be enabled in the "Applications" tab for your connection.
Update pl-oauth-config (oauth_config.yaml) to include PL_AUTH_EMAIL_PASSWORD_CONN: <your auth0 connection name here>. Redeploy the config and cloud services, if already running.
Customize Branding (Optional)
The following contains basic instructions for customizing email/password flows in Auth0, using Auth0's functionality for sending out verification/password reset emails and showing the username/password login screen. By default, Auth0 will provide their own default templates.
Update the email provider: To have Auth0 send out the email using your domain, configure your mail provider in Branding > Email Provider.
Update the email templates: Customize emails templates at Branding > Email Templates.
Update the login/signup pages: Pixie's UI is compatible with both Auth0's new and legacy universal login pages. Both pages are highly customizable. This can be done in Branding > Universal Login.