

EXPAND ALL
- Home
- About Pixie
- Installing Pixie
- Using Pixie
- Tutorials
- Reference

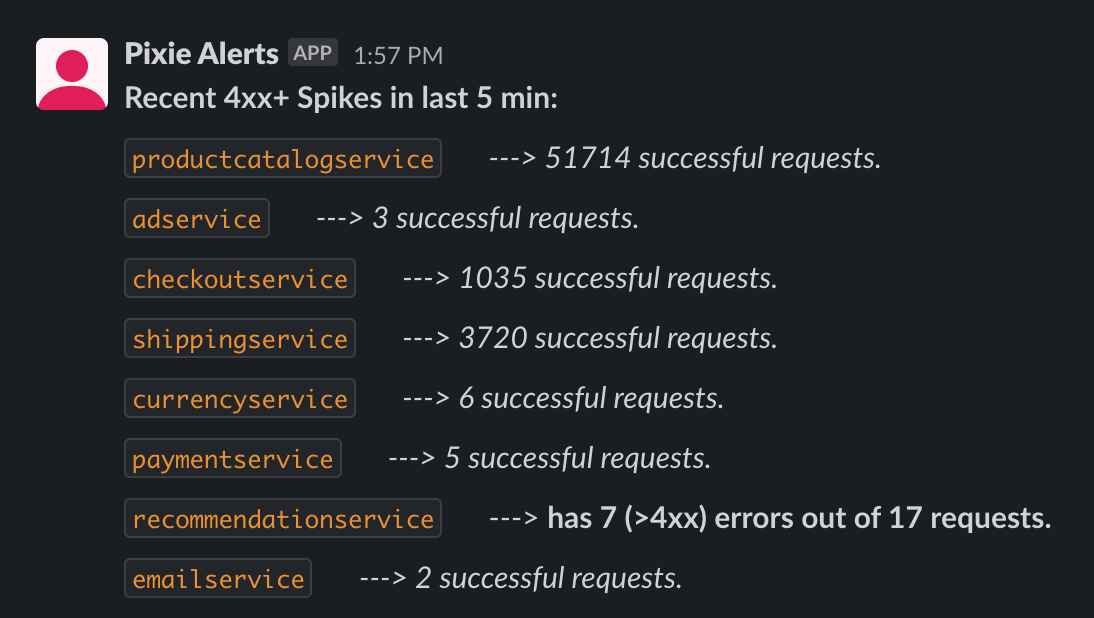
This tutorial will show you how to create a Slackbot to monitor your Kubernetes cluster using data from Pixie's observability platform. This Slackbot reports the number of HTTP errors per service in your cluster. However, the example code can be modified to alert based on any data available from Pixie.
This tutorial assumes:
You have a Slack workspace to install your Slack App to. If not, please create a workspace.
You have a Kubernetes cluster with Pixie installed. If you don't have a cluster, you can create a minikube test cluster and install Pixie, using our install guides.
First, you'll need to create a Slack App, which will allow our application to post messages in a Slack channel.
Create New App on the top right.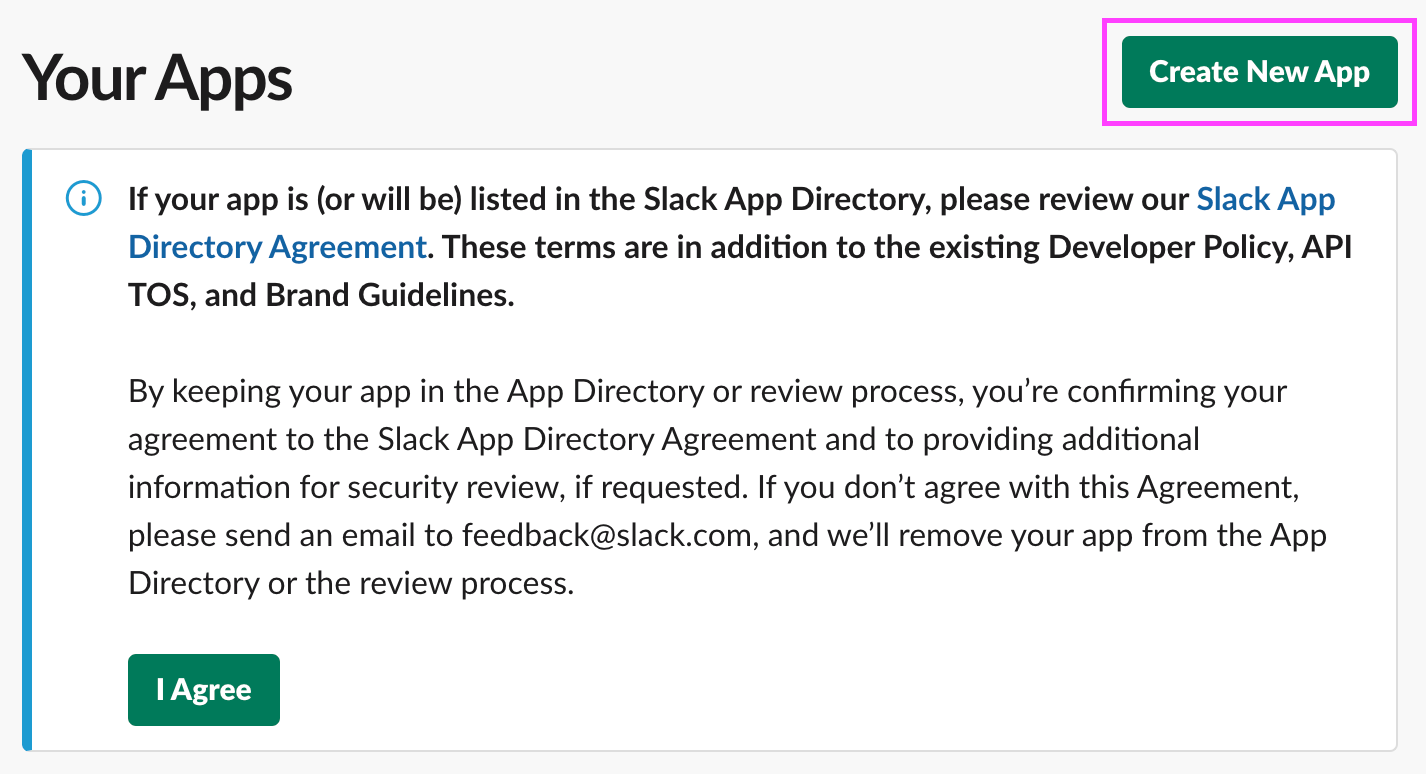
Name your app Pixie Alerts and select the workspace to test your app in.
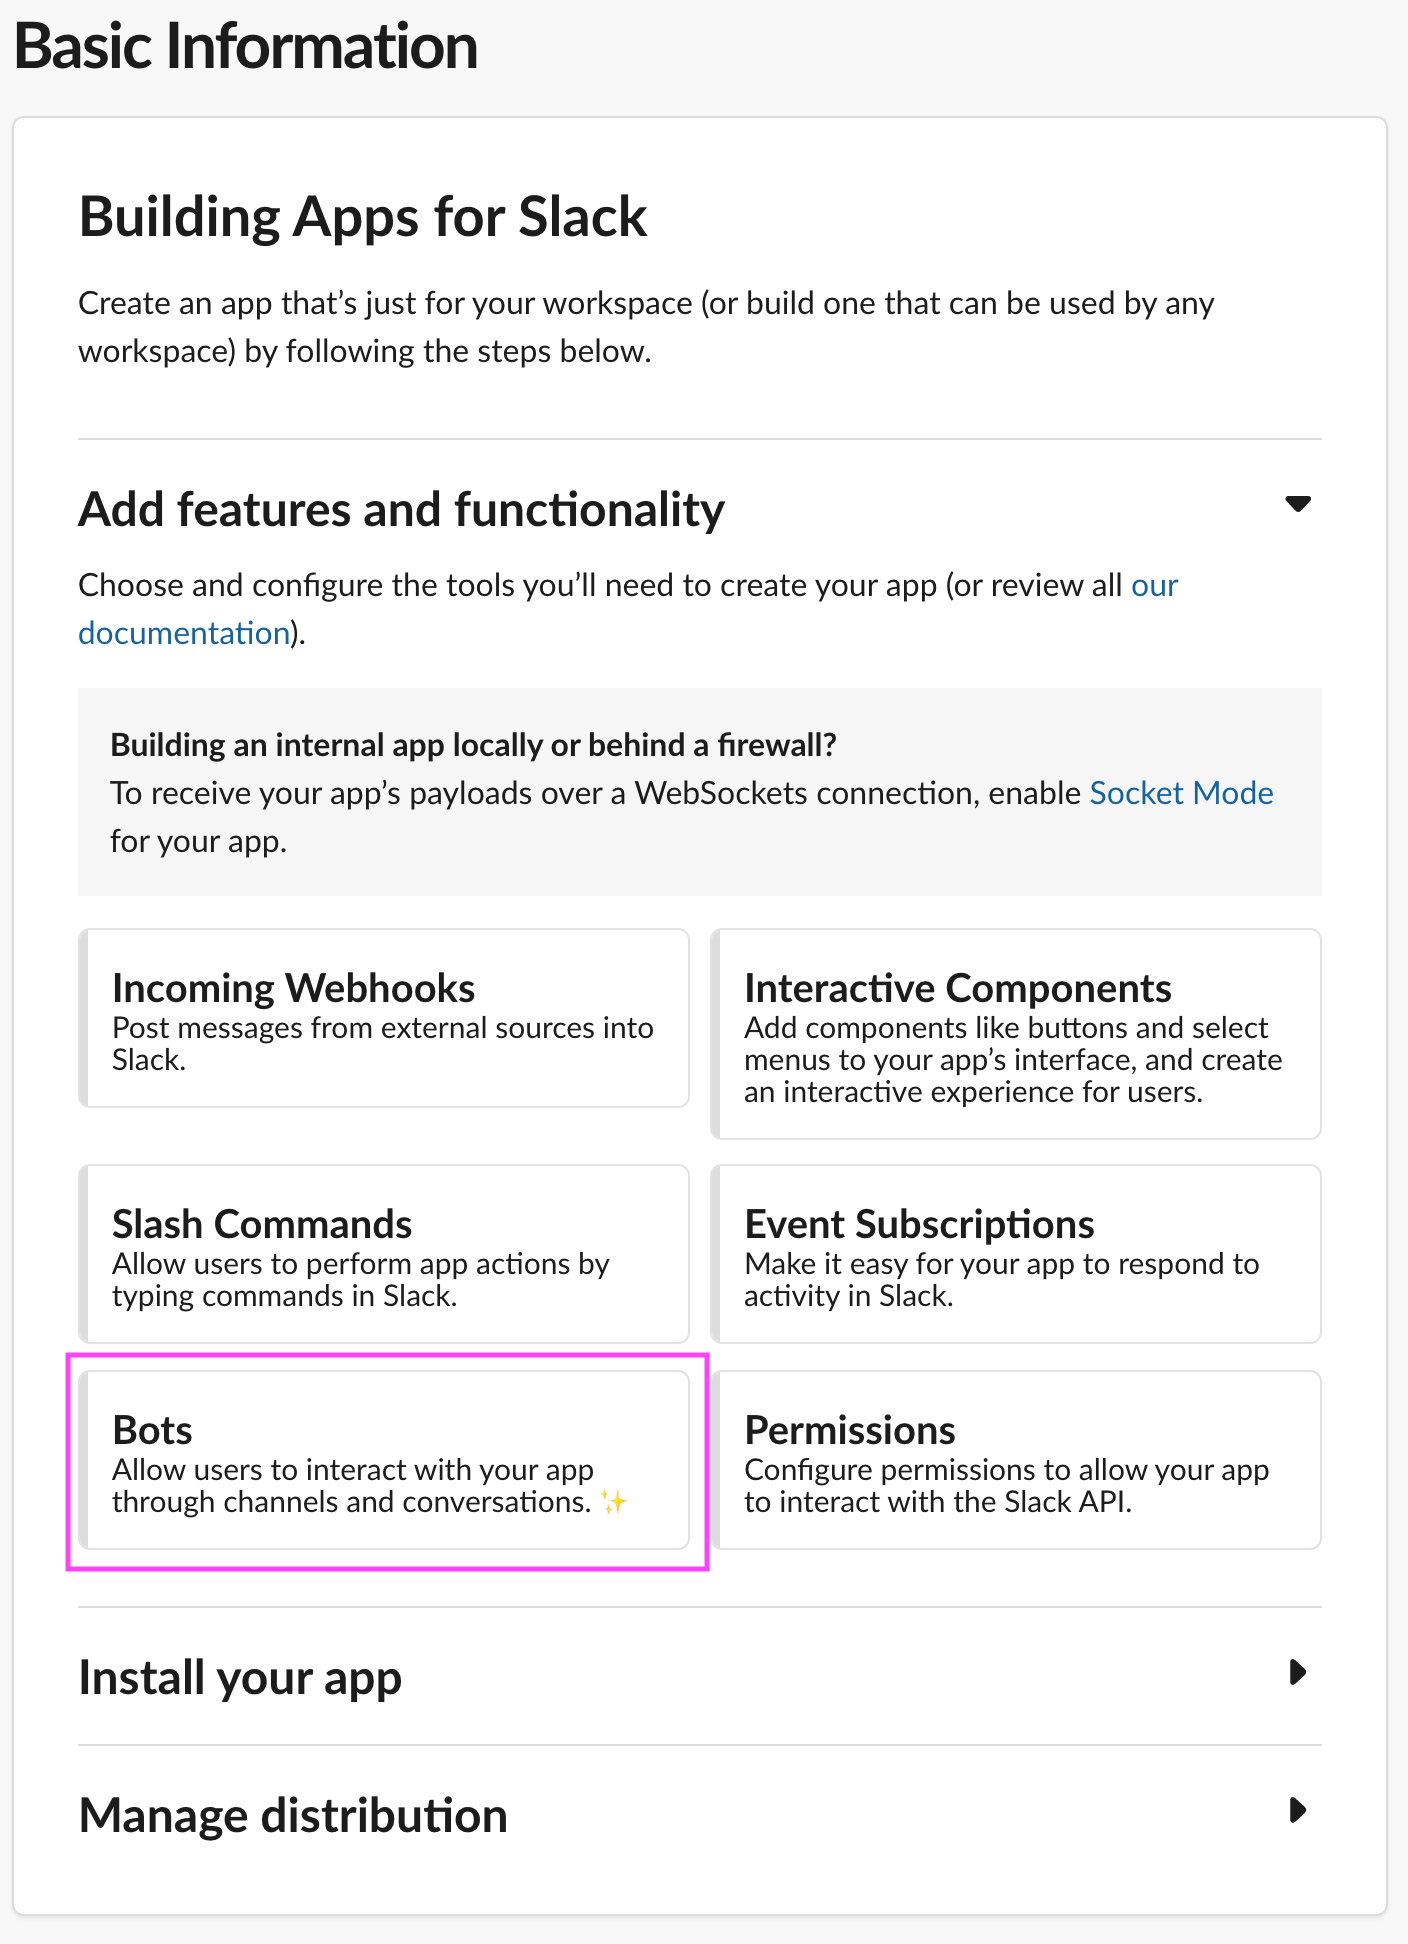
After creating the Pixie Alerts App, you'll be taken to the Basic Information page for the app. Under Add features and functionality, select Bots.
On the next page, select the Review Scopes to Add button.
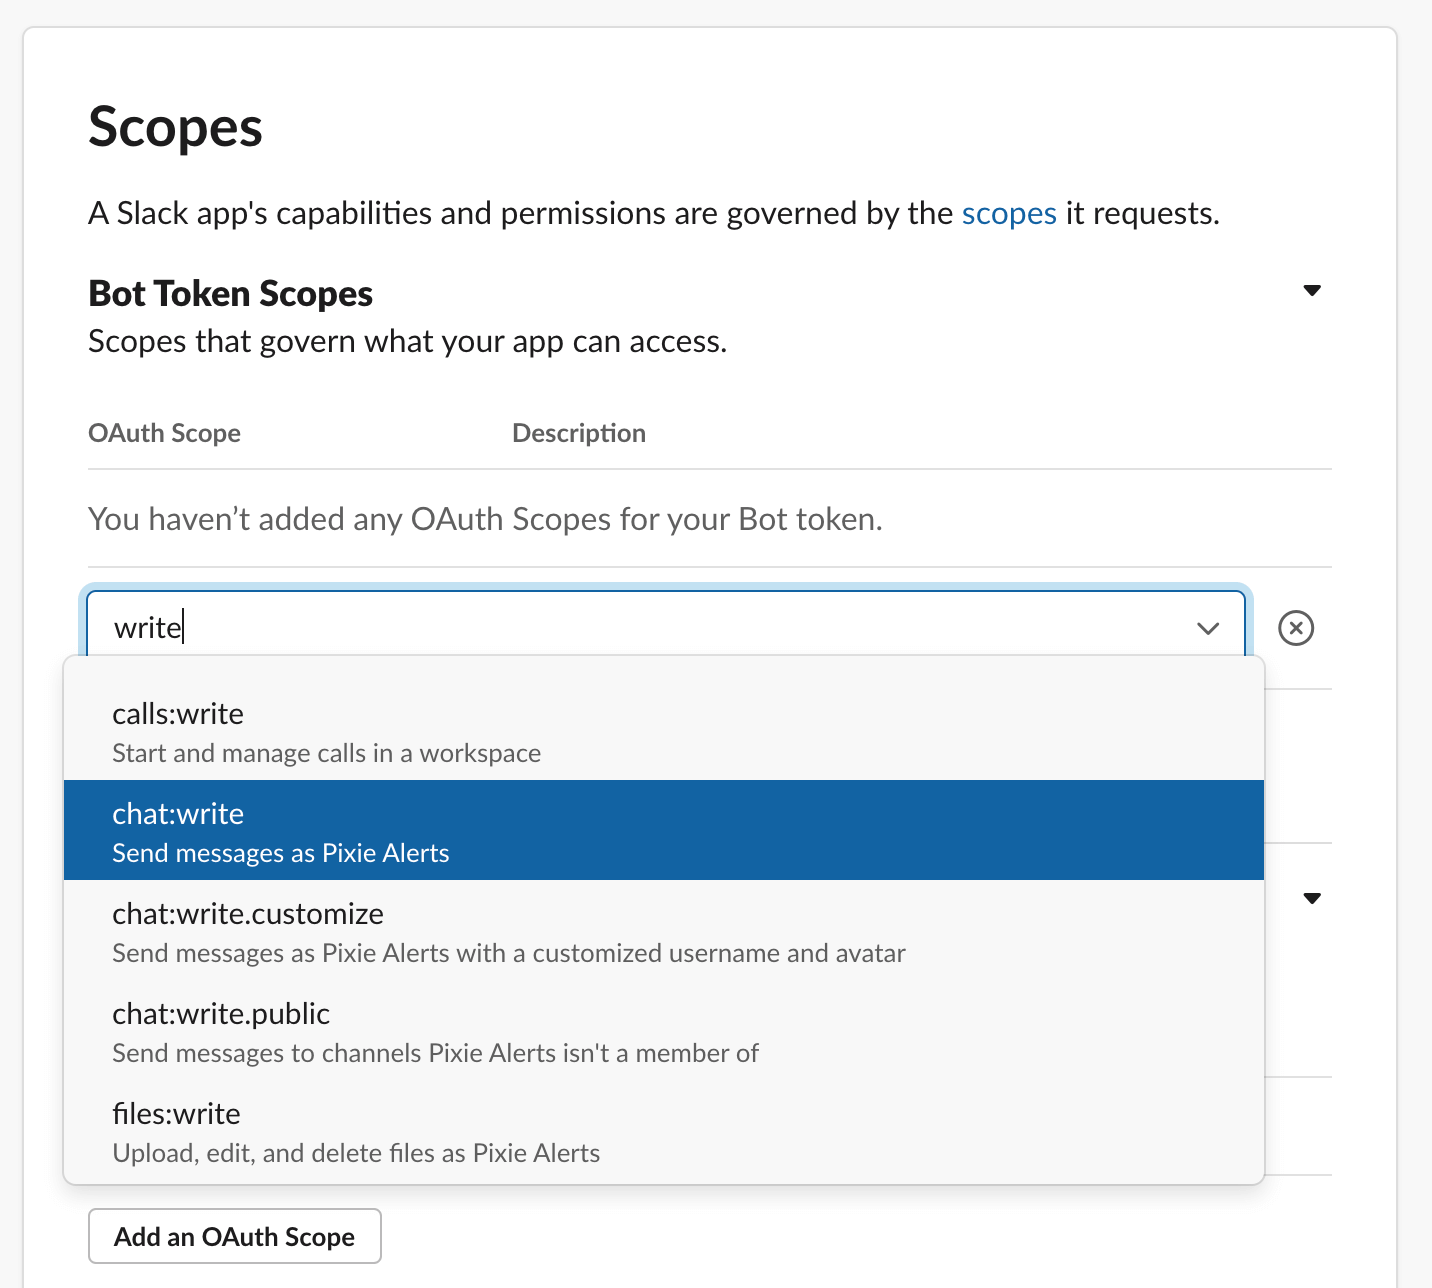
On the next page, scroll down to the Scopes section, select the Add an OAuth Scope button and then the chat:write option.
The Pixie Alerts App will simply write to a channel, but if you wanted to add support for direct messaging or other functionality, you'll need to increase the bot's scope on this page.
OAuth & Permissions) and select Install to Workspace to install the Pixie Alerts App to your workspace.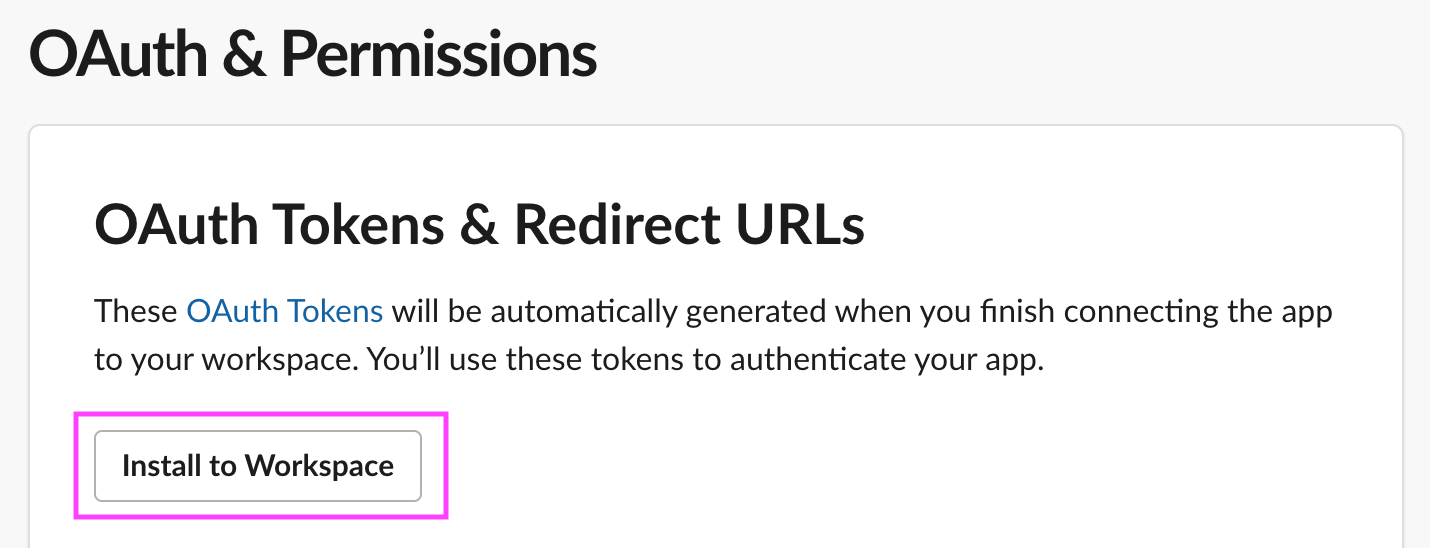
Bot User OAuth Access Token.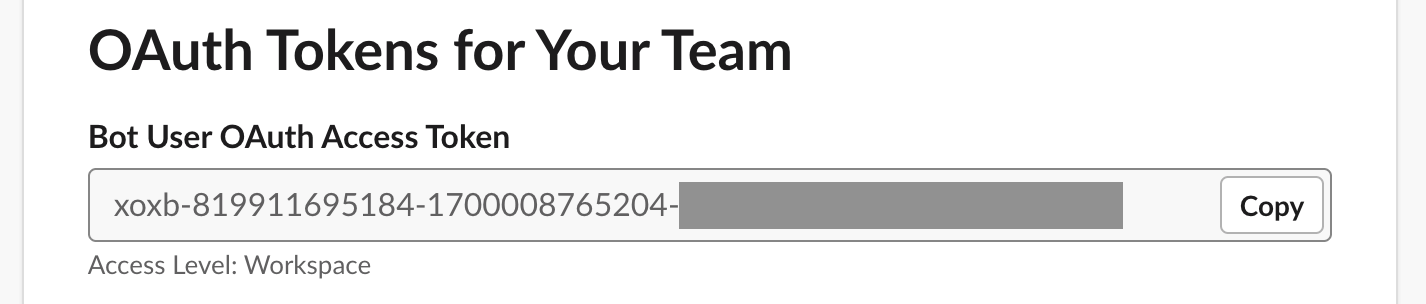
Create a new channel called #pixie-alerts for the Pixie Alerts App to post in. If you use a different channel name, you'll need to update the CHANNEL variable in the slackbot code.
Invite the Pixie Alerts App to the channel, using /invite @Pixie Alerts.

px-sock-shop demo. Our Pixie Alerts App will report HTTP errors for services in the px-sock-shop namespace.px demo deploy px-sock-shop
Find your cluster's ID following the directions here. Save this string, we'll use it in Part 3.
Create an API Key following the directions here. Save this string, we'll use it in Part 3.
This tutorial uses example code from Pixie's GitHub repository.
# Clone the Pixie repository.git clone https://github.com/pixie-io/pixie-demos.git# Change to the app directory.cd slack-alert-app/<language>
# Requires Python 3.8.7+pip install -r requirements.txt
# Slackbot token from Part 1.export SLACK_BOT_TOKEN="your_slackbot_token"# Pixie Cluster ID from Part 2.export PIXIE_CLUSTER_ID="your_cluster_id"# Pixie API Key from Part 2.export PIXIE_API_KEY="your_api_key"
go run slackbot.go
Congrats, your Pixie Alerts App will now post automated alerts to the #pixie-alerts channel in your Slack workspace!
The slackbot can be modified to alert based on any information available from Pixie's observability platform. Some notes:
We recommend testing your PxL code in the Live View. Once it works, you can replace the PXL_SCRIPT string in the slackbot app code.
The example PXL_SCRIPT filters for services in the px-sock-shop namespace only. Make sure to modify or remove this line to fit your cluster's needs.
Make sure that the start_time variable in your PXL_SCRIPT matches the slack messaging interval to get data for that specific interval only.
The table name supplied in the call to px.display(df, "<table_name>") needs to match the table name in the slackbot app call to the Pixie API, else you will receive a ValueError: Table 'table_name' not received error.
